I think there’s never been a better time in history to brand yourself as an expert and the cheapest way I know how to get your message out to a mass market and basically build your brand, is leveraging Facebook video view campaigns.
In this blog, I’ll walk you through a Facebook video strategy for cost-effective cold traffic, positioning, leverage and conversion.
But First, Why We Do This:
Most people don’t know you and they don’t know your brand, right? But even if you’re already a superstar, there’s still people who don’t know you and they don’t know your brand. Most people need multiple touches with you and your brand before they’re ready to convert. So, we need them to ‘know us, like us, trust us’, and the best way to do this is through having multiple touches with our brand and sending out credible and valuable content.
Remember the game “Lemmings?” There’s these little frustrating guys and you had to keep putting up blockers to stop them walking off the cliffs and then you had to build bridges and things. Well, traffic to your business works in the same way.
95% of traffic won’t do what you want it to do. Remember, if we drive 100 clicks and we’ve got a 5% conversion rate, 95% of them aren’t doing what we want them to do. So that’s why we need to add in remarketing into our strategy. I think most people are now familiar with what remarketing is now, if you’re not, it’s where someone has visited your website or watched our video and we can then show them ads based on actions they may have, or may not have taken.

The end goal is, we want that lead either coming back and turning into a customer or we want that customer coming back and spending more. We need to build something sticky and we need to do it cost-effectively. And this is what this whole blog is about.
A Cash Spewing Machine Vs Patient Direct Response Marketing
Some key learnings: everyone wants this cash-spewing machine, but the reality is we need to lead with value and lay the foundations in advance. We need to be prepared to plant seeds now that we can harvest later. So, what I’m going to show you isn’t necessarily going to monetize on day one, but what you will do is build a video view of hundreds of thousands of people very, very cheaply. So, it’s what I call patient-direct response marketing. In other words, putting content out, leading with value and knowing it’s not a campaign that was built to get a return straight away.
Using Facebook Video View Ads To Blow Up Your Brand
Facebook Video View Ads has been out for a couple of years now but the cost per view is three cents a view. Facebook regards a view as like three seconds and above. And three seconds isn’t really a view. So it is a little skewed to be fair. But what it does show you, is that you can get a lot of eyeballs very, very cheaply. That’s the fastest way to blow up your brand. And this, combined with remarketing, makes it really, really powerful.
Filling The Holes First
You know that your customers are turning up. You know that they’re not buying. So, you need to ‘fill the holes in the bucket’. And this allows you to create perpetual motion. Over time, you want to build the snowball bigger and bigger and bigger. Once you do this, people will be saying, “I see you everywhere.” So now that you know the theory, you know what we’re trying to overcome and what we’re trying to achieve. So let’s look at how we are we going to make that happen.
Step One – Create Videos Your Customers Want
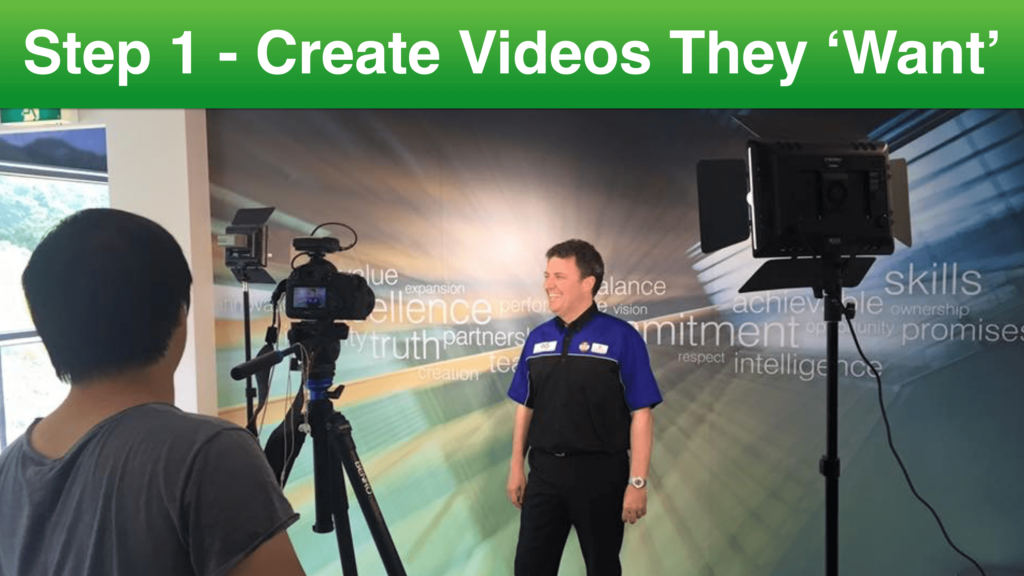
You want to create videos that your customers want, not necessarily what they need because they may need a certain thing, but if they don’t want it then it’s not going interest them. Lead with what they want and once they’re your customer, you can give them what they need.
The Tools
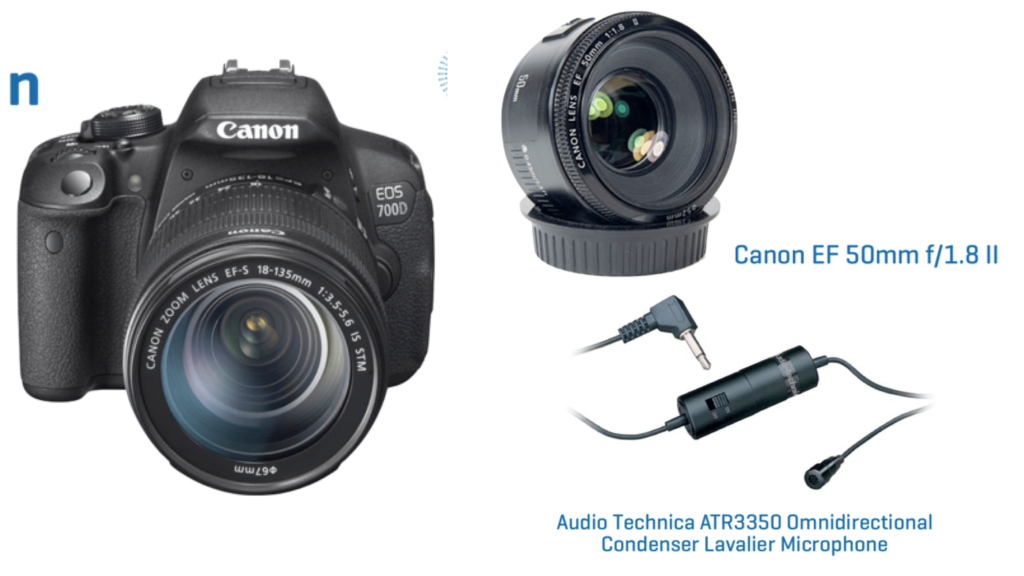
I use a Canon EOF. I think it’s a 700D. It’s a 50 mil lens and it allows me to blur the background and have myself in focus when shooting so the footage looks really professional. That lens is the secret to how you do a professional looking shoot. I think we spent about $600-$700 on the camera, $200 on the lens and got an $80 lapel mic and tripod. So all up it’s a bit of an investment but it’s still much more cost effective than hiring a videogprkher to do it. You could still just use an iPhone to get you started. The advantage is that it’s quicker and it’s easier and it’s less hassle but the downside is it’s not going have the same production quality. Just figure out what will work best for your business with where you’re at right now and the content of the videos.
Step 2 – Editing the Video
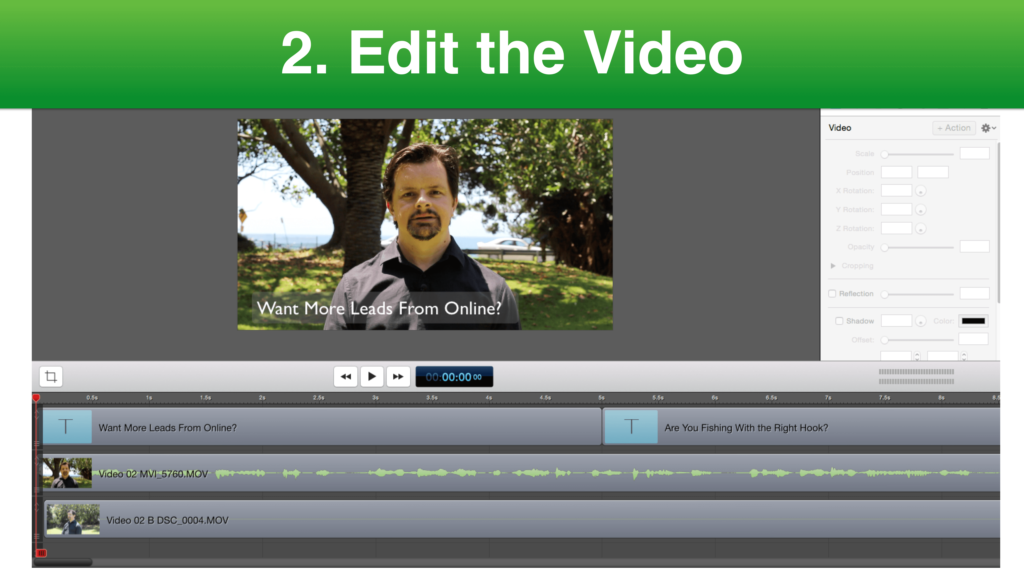
When a video plays in Facebook, it’s going to play automatically, but there’s not going to be any sound initially, right? So, that’s why putting captions or text overlaid onto the video can be great, however Facebook also has a tool that will let you edit the captions once you upload it. But here in this example, we did it with an editing software, ScreenFlow. Used on Mac, it’s pretty cheap at about $200 and just quick and easy to use. You only really need to know how to do three or four things like adding a top and tail on the video if needed, adding picture or text overlays and adding transitions to join any clips together or cover sections up.
These days for social, everything we’re making is pretty much square,1080 pixels by 1080 pixels. If it’s a video, that’s basically what we’re doing. And the reason why is because when someone looks at it on the device, it’s taking up that much more of the device.
You don’t have to shoot a square video, you shoot the video the way you normally shoot video, whether it’s landscape, and then with a program like screenflow you just specify the dimensions to be 1080 by 1080. And then you upload your video and drag your video on and shrink the video to fit into the container and add text at the top to fill the space,
Step 3 – Upload the Video To YouTube
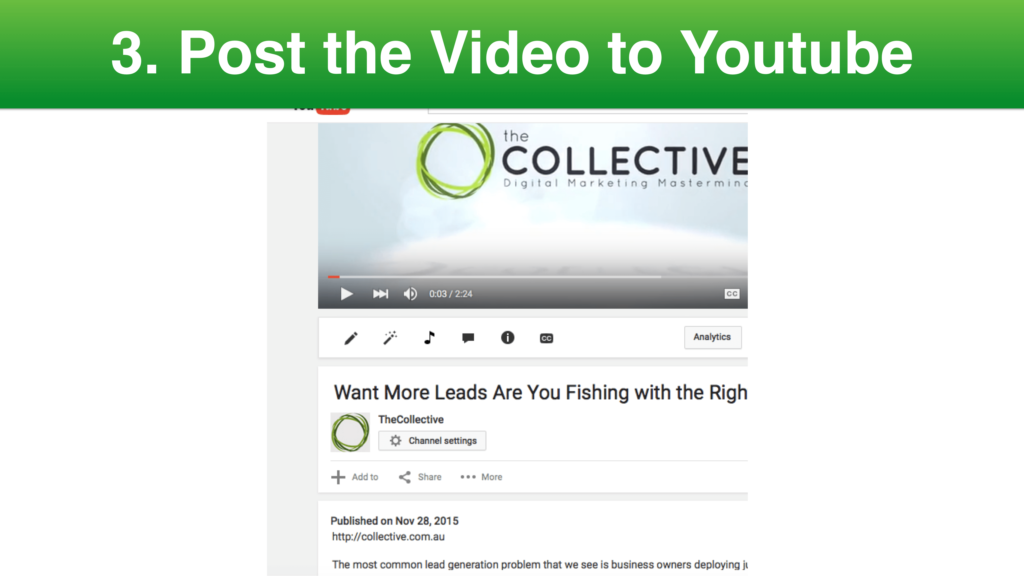
Once we’ve edited our video, it needs to get uploaded to your YouTube channel. You might think, “Well, why are we posting it to YouTube?” Because we’re going put it on our blog. So, this idea is that we’re going to churn out high-quality content and we’re going to try and drive people back to our blog.
Step 4 – Get Your Video Transcribed
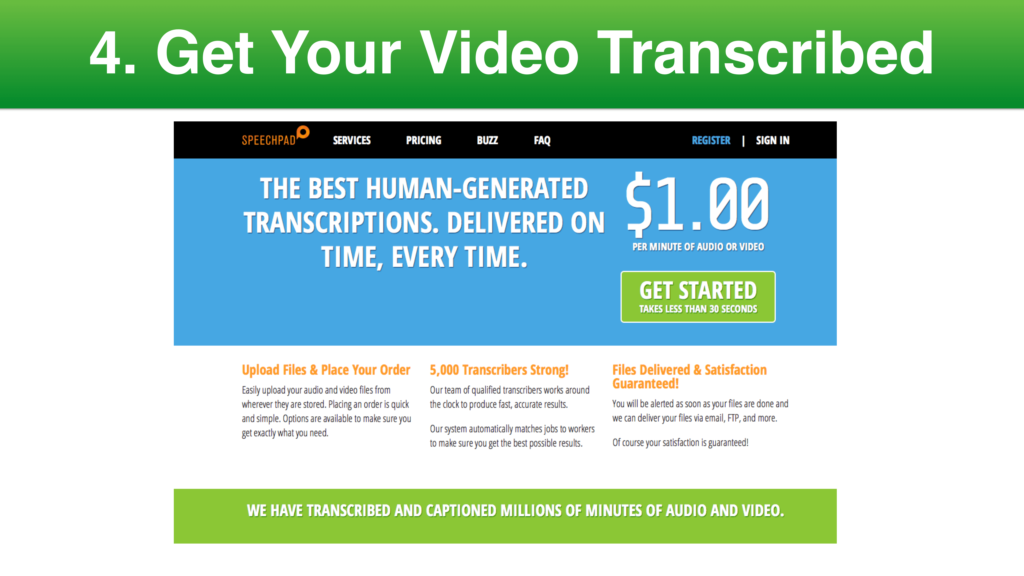
Next steps is to get the video transcribed. Speechpad.com is what we use and only costs as cheap as 1 dollar a minute to get it transcribed, which is much more cost effective then your time to do it. That’s then going to give us the wording for the blog that can go underneath the video. If it makes sense for your business to have video blogs, it’s much better to do it this way, because some people want to watch the video, whereas some people prefer to read. And also, from Google’s perspective it can then see exactly what the content in the video is and helps with SEO.
Step 5 – Create Your Blog Post
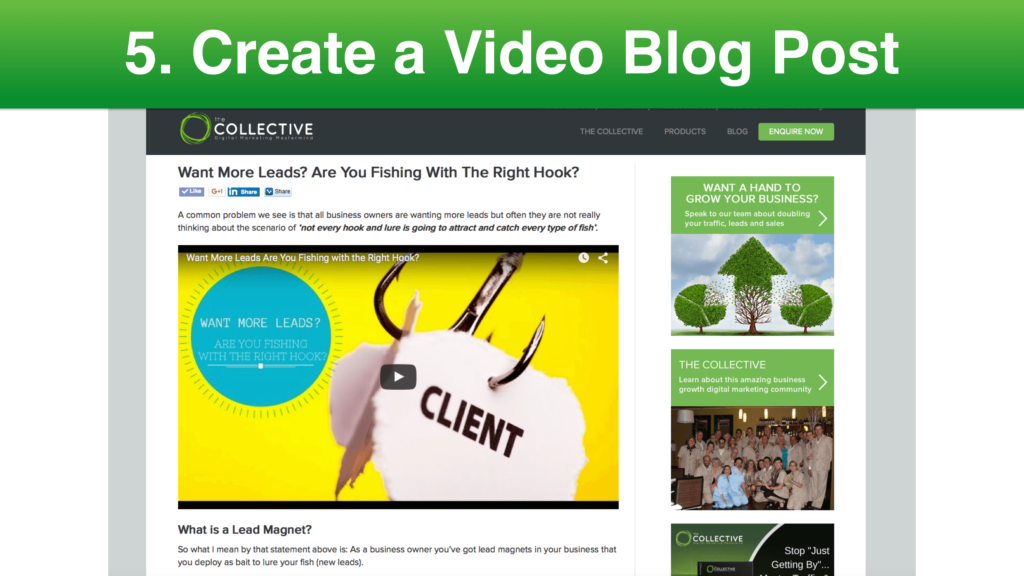
So the whole point of this is, we figured out what content our market wanted. We created a video about it and then we posted it to YouTube and we also got the YouTube video transcribed. And then using that video and the video transcription we created a comprehensive blog post using images too, where applicable. In essence, we’ve now got a valuable asset that we wanna get people back to.
Step 6 – Email ‘Give’ To Your List
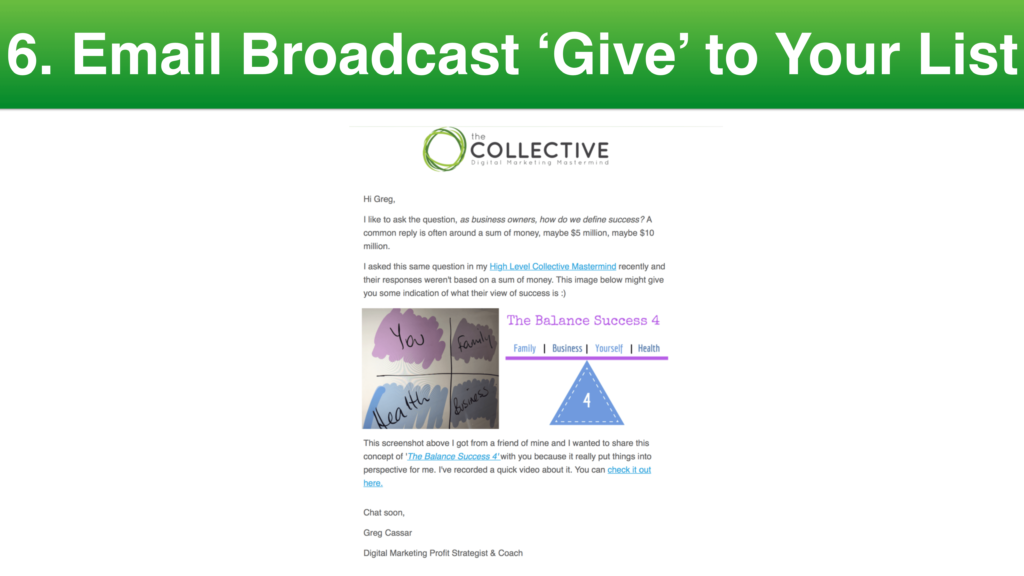
All this, is like a building block that we’re now going to try and get people to. Now it’s time to put social signals out there letting people know you’ve got great content to share with them. If you’ve got an email list, send an email to your list saying, “This is a really valuable piece of content, I think this would help you guys.” ect. And remember, it’s going to give you a bit of a boost because you’ve got people coming back to it. If you’ve got an autoresponder campaign or sequence set up, if it’s a great piece of content, you might also want to add it onto your autoresponder sequence. Auto-responder is talking about when people have opted into your list and then you’re going to automate, follow them up with messages. Next, it’s time to plug in video view ads in Facebook to drive many eyeballs, as cheaply as possible to your blog content.
For those who already know how to do this, you can now go an action this plan… for those who need a step by step instruction on how to set up video view ads, I’ll walk you through that in the part 2 blog next week.

